
Thought I'd post my project up here with the other corsa rally cars that are being built at the moment.
It's nothing revolutionary and not as exotic as some of the others but it may be of interest to some, as the other projects are to me.
I've fully seam welded the shell and plated where required, and welded in a Harry Hockley cage. The plan is to build the car up prior to blasting and painting it, using some stuff of the present car and some new.
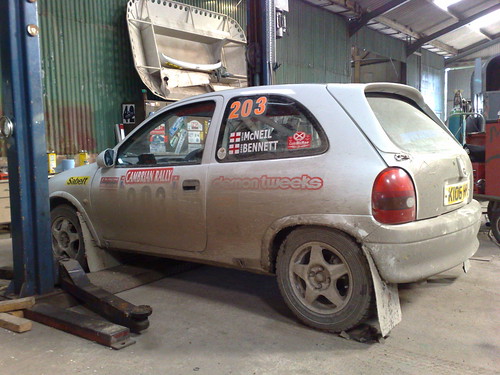
Present car:
![Image]()
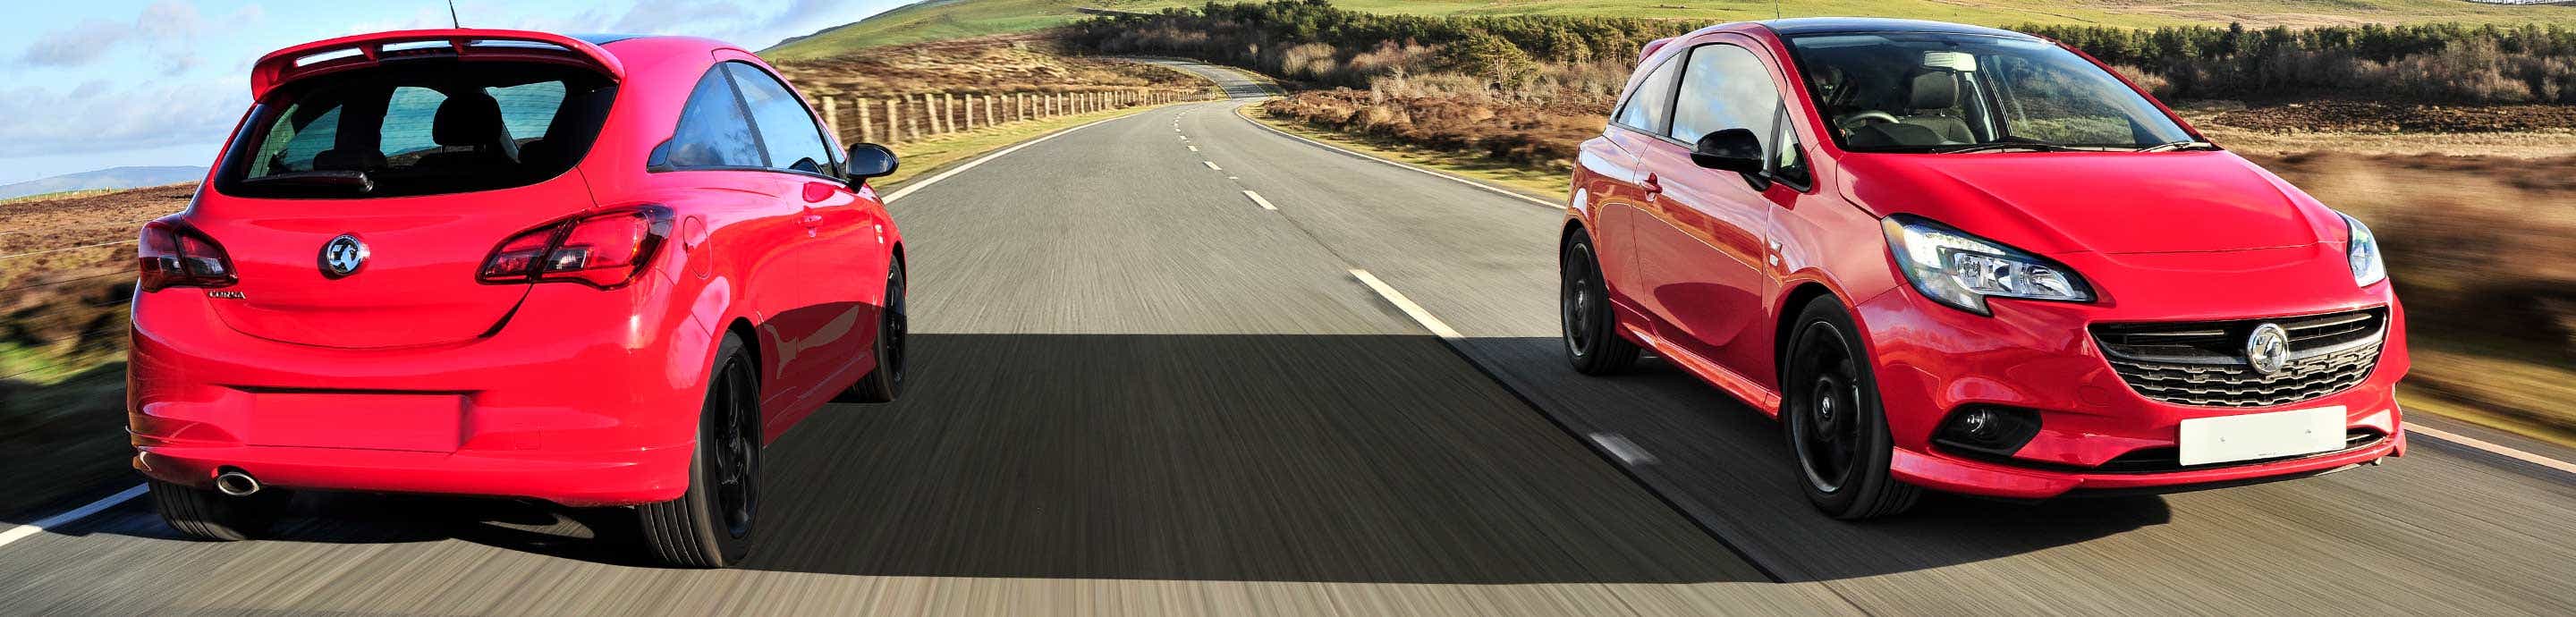
New car:
![Image]()
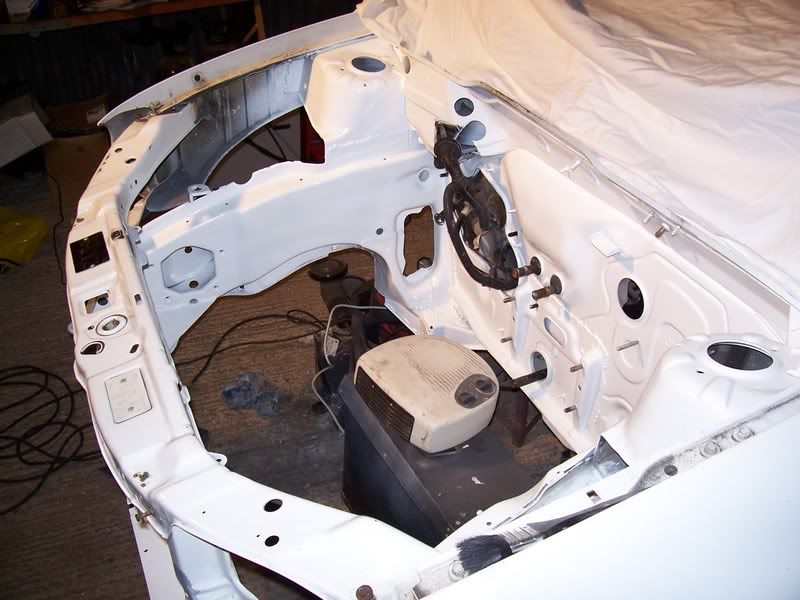
Stripped and seam welding started:
![Image]()
Seam welding complete and cage started:
![Image]()
![Image]()
![Image]()
![Image]()
Cage complete and non sunroof fitted back on with Sikaflex and a few spotwelds:
![Image]()
Dashboard fitted re-fitted after notching out around cage:
![Image]()
It's nothing revolutionary and not as exotic as some of the others but it may be of interest to some, as the other projects are to me.
I've fully seam welded the shell and plated where required, and welded in a Harry Hockley cage. The plan is to build the car up prior to blasting and painting it, using some stuff of the present car and some new.
Present car:
New car:

Stripped and seam welding started:

Seam welding complete and cage started:


Cage complete and non sunroof fitted back on with Sikaflex and a few spotwelds:

Dashboard fitted re-fitted after notching out around cage:


") It will be interesting to see what power remains once in the car.
It will be interesting to see what power remains once in the car.